How to Benchmark Gaming PCs for Real Results
Learn how to benchmark gaming PCs with repeatable game tests, temperature checks and clear results that help you tune or compare a premium build properly.
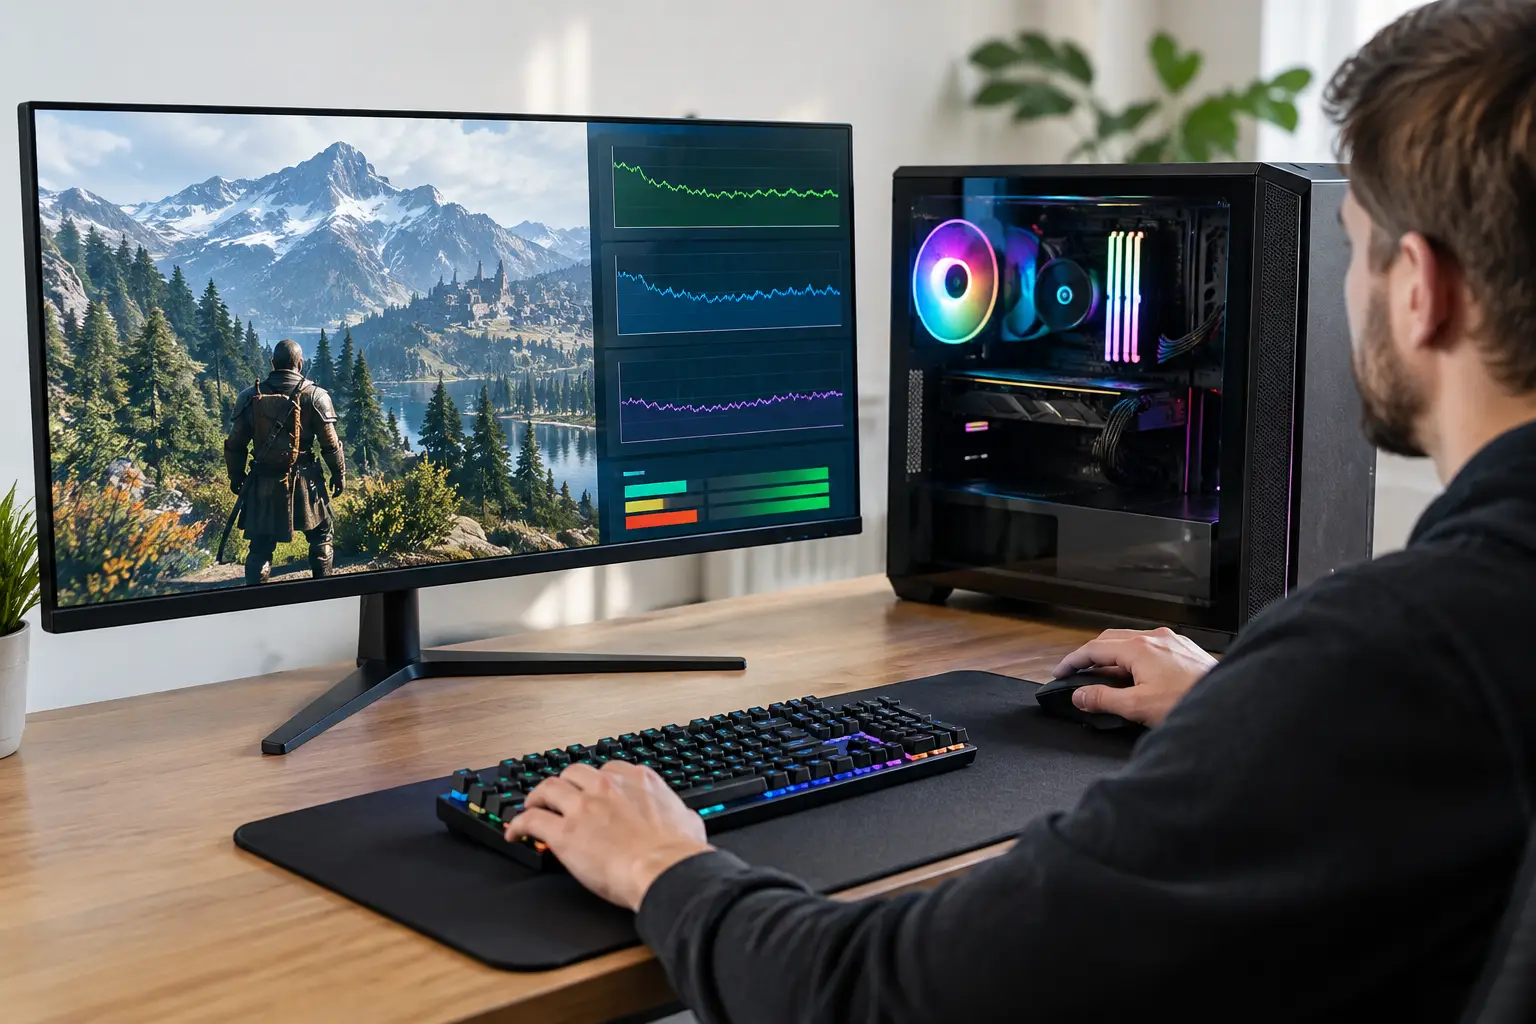
A new graphics card should not be judged by a single impressive frame-rate figure, and neither should a complete PC. To understand how to benchmark gaming PCs properly, you need repeatable tests that show average performance, frame-time consistency, temperatures and noise under a realistic load. That is how you separate a system that briefly looks fast from one that remains dependable through a long gaming session.
For a custom machine, benchmarking is also a useful final quality check. It confirms that the processor, graphics card, memory, cooling and power delivery are working together as intended. A premium PC should feel considered not only when it is first switched on, but when demanding games and applications are asking the most from it.
What a Gaming PC Benchmark Should Tell You
A benchmark is a controlled performance test. Its value comes from consistency: the same game scene, settings, resolution and background conditions should be used every time. If you change several variables at once, the result may look different, but it will not tell you why.
The most useful gaming results go beyond average frames per second, or FPS. Average FPS gives a clear high-level indication of speed, but it can hide short stutters that are noticeable while playing. Look at 1% low FPS as well. This figure represents the slower moments during the run and is a practical indicator of how smooth the experience is likely to feel.
Temperatures, clock speeds and fan behaviour complete the picture. A graphics card that produces excellent frame rates but runs unusually hot, noisy or below its expected clock speed may need further investigation. Equally, a processor that reaches its thermal limit in a brief synthetic test is not automatically a problem. The case airflow, cooler, processor settings and the workload itself all matter.
Prepare the PC Before You Test
Start from a known state. Install current graphics drivers and operating system updates, then restart the PC. Let Windows finish any downloads, indexing or updates before testing, as these background tasks can affect frame rates and produce misleading spikes.
Set your power mode appropriately. On a desktop gaming PC, a performance-focused setting is usually the right choice for testing, provided it reflects how you intend to use the system. Check that the display cable is connected to the graphics card rather than the motherboard video output. This is a common oversight on systems with a dedicated GPU.
Avoid changing settings between runs. Close web browsers, launchers that are downloading games, RGB software performing updates and unnecessary overlays. Keep the room conditions broadly similar if you are comparing results over several days. A warm room can raise component temperatures enough to make a close comparison less meaningful.
Before recording performance, give the PC a few minutes at idle and note the ambient room temperature if you are assessing cooling. You do not need laboratory conditions, but basic consistency makes the results much more useful.
Choose Tests That Match How You Play
A balanced benchmark routine usually combines a synthetic test with real games. Synthetic tools are useful because they are repeatable and can reveal instability quickly. They are not, however, a substitute for the games you actually play. A PC built for competitive shooters should be tested in a fast multiplayer title or a comparable training mode. A system intended for cinematic single-player games deserves testing at its target resolution with the visual features you expect to use.
Use built-in benchmarks where available. They provide a fixed sequence and make comparisons easier. If a game has no benchmark mode, choose a repeatable route through the same area, with the same weather, time of day and settings. A busy city section in an open-world game is often more revealing than standing still in an empty room.
Test at the resolution you use. For many players that will be 1440p, while a 4K display places far more emphasis on graphics card performance. At 1080p with a powerful GPU, the processor and memory can become the limiting factors, particularly in esports titles. This is not a fault with the PC. It simply identifies where the workload sits.
Ray tracing, upscaling and frame generation should be recorded clearly. They can transform performance, but results are only useful when the settings are transparent. A result labelled simply as “Ultra” leaves out too much context. State the preset, resolution, ray tracing level, upscaling mode and whether frame generation is enabled.
Run More Than Once
One run is a snapshot, not a conclusion. Run each benchmark at least three times and record the middle result, or calculate an average if the numbers are close. If one run is significantly slower, do not ignore it. Check for background activity, shader compilation or a setting that did not apply correctly, then test again.
Game performance can improve after the first run because shaders are compiling and assets are being cached. For this reason, it is sensible to complete one warm-up pass before recording your results. This is especially relevant after a new driver installation or a major game update.
Monitor Frame Rates, Temperatures and Clocks
A hardware monitoring utility with an in-game overlay is invaluable. Configure it to show GPU usage, GPU temperature, GPU clock speed, CPU temperature, CPU utilisation, system memory use, average FPS and frame-time data. Keep the overlay small enough that it does not distract from the test.
GPU utilisation helps identify bottlenecks. If the graphics card is consistently near full utilisation during a demanding 4K test, the game is primarily GPU-limited, which is expected. If GPU utilisation is much lower while one or two processor cores are heavily loaded, the game may be CPU-limited. Reducing graphics settings may not create a major improvement in that scenario.
Do not focus on a single CPU temperature figure without context. Modern processors are designed to boost aggressively when thermal and power headroom allow it. The key question is whether performance remains stable and within the expected range for the hardware. Sudden drops in clock speed, persistent throttling warnings or repeated crashes deserve attention.
Noise is subjective, but it should be considered. Run a demanding game for 20 to 30 minutes, not merely a short benchmark loop, then listen from your normal seating position. Fan curves can often be refined for a better balance between acoustics and temperatures. The best setting depends on whether you prioritise a quieter desktop or the lowest possible temperatures.
Use Synthetic Benchmarks with Care
Synthetic GPU and CPU tests provide a useful baseline, particularly after building or upgrading a PC. They put components under a predictable load and allow you to compare your score with similar specifications. Use them to identify an unexpectedly low result, not to chase a leaderboard position through unstable overclocks.
If a score is below expectation, check the basics first: memory profile enabled in the BIOS, correct PCIe power connections, current drivers, sensible power settings and no thermal throttling. Memory running at a default speed rather than its intended profile can affect processor-limited game performance more than many users expect.
Stress tests are valuable for stability, but they can be harsher than typical gaming. A PC that is stable in a demanding game for several hours may behave differently under an all-core CPU stress test and maximum GPU load at once. Both are valid workloads. Treat them as separate checks rather than assuming one result predicts every use case.
Record Results So They Are Comparable
Create a simple results sheet for every test. Include the PC specification, BIOS version, driver version, game version, resolution, graphics preset, upscaling settings, average FPS, 1% low FPS, peak temperatures and notes on noise or stuttering. This may sound meticulous, but it prevents confusion later when you change a driver, update a game or alter a fan curve.
For a fair comparison between two gaming PCs, use the same display resolution and game settings. A faster result at 1080p does not necessarily mean a better 4K experience. Consider the intended display, games and budget alongside the numbers. A well-balanced system tailored to your needs is more valuable than a headline score achieved in conditions you will never use.
When Results Suggest a Problem
Stuttering, crashes, unexpectedly low frame rates or temperatures that rapidly climb should be investigated methodically. Return any overclock to standard settings, verify game files, reinstall the graphics driver if needed and confirm that cooling fans are operating correctly. Check that the RAM is fully seated and that all GPU power connectors are secure before assuming a component has failed.
A gradual frame-rate decline during a long session can point to heat, but it can also come from a game update, background task or memory issue. Repeat the same test with monitoring enabled before making hardware changes. Evidence is better than guesswork, especially with a premium system where each component should be working to its proper standard.
Benchmarking is not about proving that your PC has the biggest number on a chart. It is about understanding the performance you paid for, spotting an issue early and choosing settings that make every session feel consistently excellent.