How to Check PC Component Compatibility
Learn how to check PC component compatibility before you buy. Match core parts, avoid costly mistakes and plan a powerful, fully tested PC build confidently.
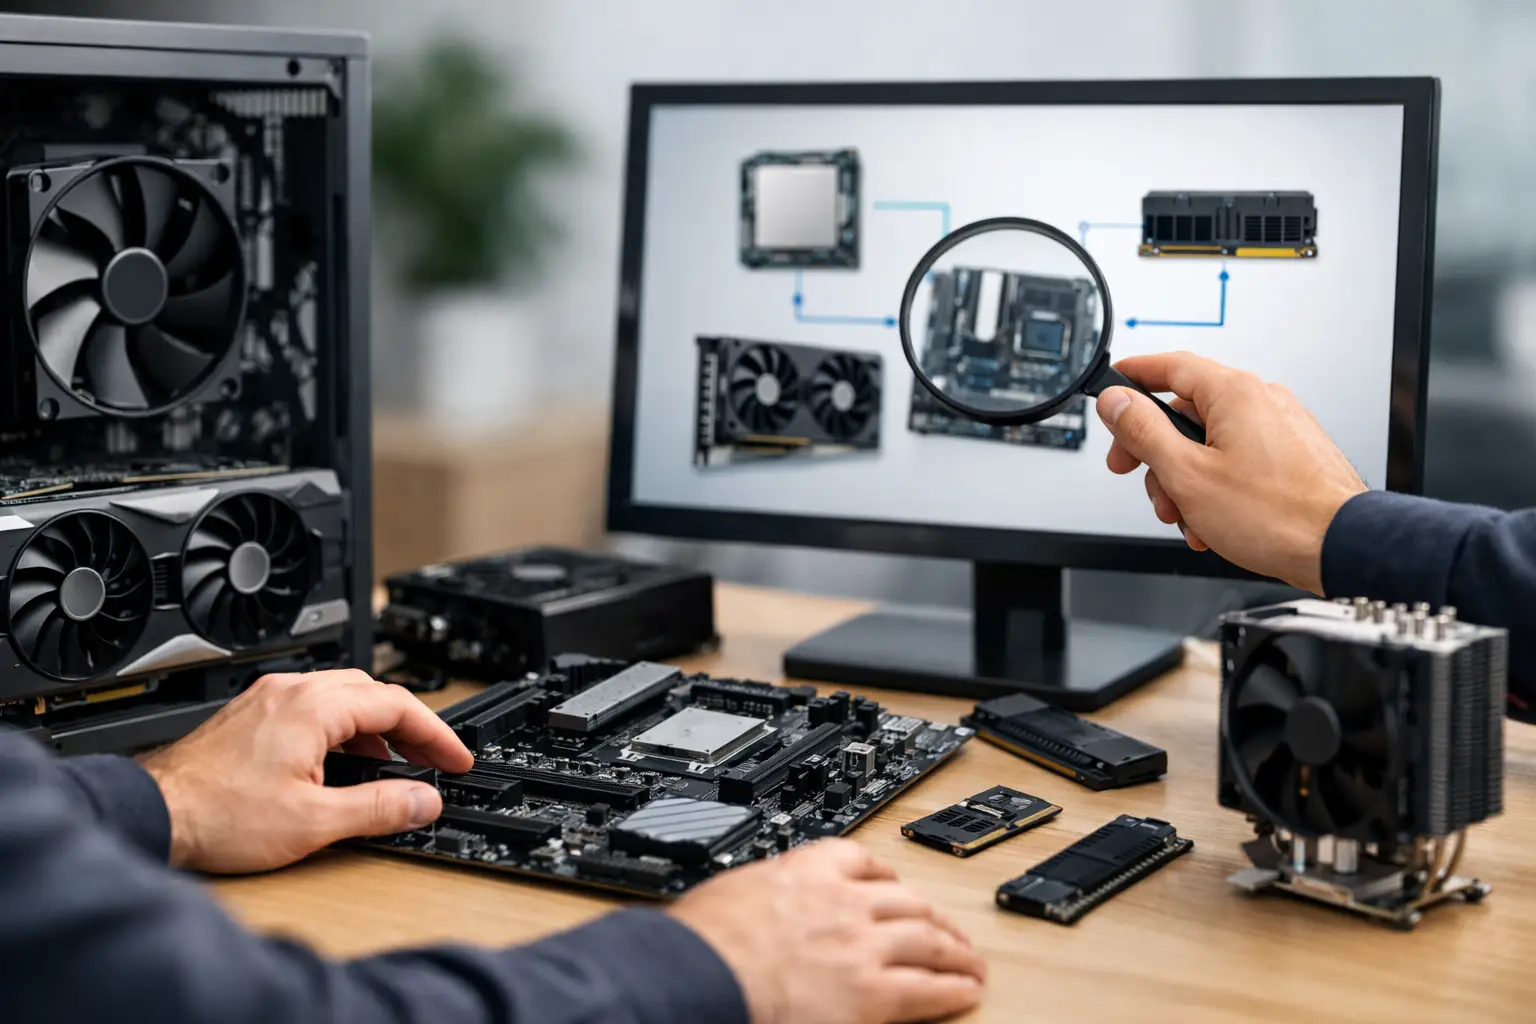
A graphics card can fit the motherboard perfectly and still prevent a build from coming together. It may be too long for the case, demand more power than the PSU can supply, or leave no room for its power cables. Knowing how to check PC component compatibility means looking beyond a list of individually impressive parts and treating the PC as one complete system.
For a gaming PC, workstation or creative machine, compatibility affects more than whether the system switches on. It influences temperatures, noise, upgrade options, performance consistency and the quality of the finished build. The checks below help you specify with confidence before placing an order.
Start with the CPU and motherboard
The processor and motherboard are the foundation of the specification. They must use the same CPU socket. A processor designed for one socket will not physically or electrically work in a motherboard using another, even if both are from the same manufacturer.
Chipset choice matters too. The chipset determines features such as PCIe lane availability, storage support, USB connectivity, overclocking options and, in some cases, CPU compatibility. A motherboard can have the correct socket but require a BIOS update before it recognises a newer processor. This is especially relevant when combining a recently launched CPU with older stock of an otherwise suitable board.
Check the manufacturer’s CPU support list for the exact motherboard model, not simply the chipset family. Also consider the board’s power delivery. Higher-end CPUs can draw substantial power under sustained gaming, rendering or compiling workloads. A basic motherboard may support that processor technically, but a board with stronger voltage regulation and better cooling is the more dependable choice for a premium system.
Match RAM to the platform
Memory compatibility begins with the generation. DDR4 and DDR5 are not interchangeable: their slots, electrical design and supported platforms differ. The motherboard specification will state which type it accepts, along with its maximum capacity and supported memory speeds.
Memory speed is often misunderstood. A kit may be rated for a high frequency, but achieving that speed usually requires enabling its XMP or EXPO profile in the BIOS. Whether it runs reliably at that setting depends on the CPU’s memory controller, motherboard layout and BIOS maturity. For most gaming systems, a well-matched two-stick kit is preferable to filling every memory slot from day one.
Capacity should reflect the job. 16GB remains workable for lighter gaming use, while 32GB is a stronger baseline for modern games, multitasking and general creative work. Video editing, 3D workloads, large datasets and professional applications may justify 64GB or more. If future expansion matters, leave spare slots where practical and choose a motherboard that supports the intended final capacity.
Check graphics card clearance, connection and power
The GPU is often the component that creates the most expensive compatibility mistake. Begin with the case’s maximum graphics card length, then compare it with the exact card model’s published length, height and thickness. Two cards using the same graphics processor can have very different coolers and dimensions.
Allow extra room rather than planning around a millimetre-perfect fit. Front-mounted radiators, case fans and thick power connectors can reduce usable space. Larger modern cards may also need enough side-panel clearance to avoid sharply bending their power cable, which can put strain on the connector.
Virtually all current graphics cards use a PCIe x16 slot, and PCIe standards are backwards compatible. A newer card can operate in an older compatible slot, although the available bandwidth and platform features may differ. More significant is ensuring that the card has appropriate power connectors and that the power supply can provide the required wattage.
Do not rely only on a PSU’s advertised total wattage. Check its quality, efficiency rating, available PCIe or 12V-2x6 connectors, and whether it provides separate cables for power-hungry GPUs. A well-specified 750W or 850W unit from a trusted platform can be a better long-term choice than a higher-wattage budget model. Transient power spikes and sustained loads both matter in high-performance systems.
Choose a case that supports the whole build
A case is not just an aesthetic choice. It sets the limits for motherboard size, graphics card length, CPU cooler height, radiator position, storage mounting and airflow. First, make sure the case supports the motherboard form factor: ATX, Micro-ATX or Mini-ITX. An ATX board will not fit in a compact Mini-ITX chassis.
For air cooling, compare the CPU cooler height against the case clearance. For liquid cooling, check supported radiator sizes and positions, then account for the combined thickness of the radiator and fans. A 360mm radiator may be listed as supported, but it can conflict with tall RAM, a large motherboard heatsink or a front-mounted GPU in certain layouts.
Airflow needs planning rather than guesswork. A powerful CPU and GPU produce significant heat, particularly during extended gaming sessions or rendering work. Look for a case with purposeful intake and exhaust positions, sensible front-panel ventilation and enough fan support for the components selected. Glass-heavy designs can look excellent, but they still need a clear route for cool air to enter and warm air to leave.
Confirm CPU cooler support
Every CPU cooler needs the correct mounting hardware for the processor socket. Most current coolers include fittings for common platforms, but check the box contents and the exact revision before buying. Older stock may not include a bracket for a newer socket.
Cooling capacity also needs to suit the processor. A compact low-profile cooler may fit a small case but struggle with a high-wattage CPU under heavy load. Conversely, an oversized cooler is unnecessary if the system is built around an efficient processor and moderate workloads. The right choice depends on performance targets, case dimensions and how quietly you want the system to run.
If you are using an all-in-one liquid cooler, consider pump and fan headers as well as physical fit. Most motherboards provide the required connections, but a more complex fan setup may benefit from a hub or controller. This keeps cable management cleaner and gives you better control over system acoustics.
Plan storage and expansion before buying
M.2 NVMe SSDs are compact and fast, but their installation can affect other components. On some motherboards, using a particular M.2 slot may disable a SATA port or reduce bandwidth available to another PCIe slot. This is not necessarily a problem, but it should be planned rather than discovered halfway through the build.
Check how many M.2 slots the board provides, which PCIe generation each supports and whether heatsinks are included. A fast primary drive for Windows, games and applications is a sensible starting point. Larger secondary SSDs can be added for media libraries, project files or a growing game collection.
Also consider the expansion you may need later. Capture cards, sound cards, additional networking and storage controllers all require physical PCIe slots and, sometimes, free lanes. Compact boards can be ideal for a small, focused gaming build, while larger boards offer more flexibility for creators and enthusiasts who expect to expand.
Do not overlook ports, displays and peripherals
A compatible PC should suit how you will actually use it. Check the motherboard rear I/O and case front-panel headers for the USB connections you need. If the case has USB-C on the front, confirm that the motherboard includes the relevant internal header. Otherwise, that port may remain unusable without an adapter.
For displays, the graphics card is normally the important connection point. Confirm that it has the right mix of DisplayPort and HDMI outputs for your monitor, especially if you use a high-refresh-rate gaming display, multiple screens or a professional colour-accurate panel. If you need Wi-Fi or Bluetooth, verify whether they are built into the motherboard or require an add-in card.
Use compatibility tools carefully
PC part compatibility tools are useful for catching obvious conflicts, such as a board and CPU using different sockets or a cooler exceeding case height. They are a helpful starting point, not a final sign-off. Their databases can lag behind new hardware, and automated checks do not always account for radiator clearance, cable bend space, BIOS versions or power connector requirements.
The most reliable process is to cross-check each key specification against the component manufacturer’s documentation. Focus on the CPU support list, RAM type, case clearance figures, cooler mounting kit, PSU connectors and storage lane-sharing notes. If a specification is unclear, choose the more conservative configuration or ask a specialist before committing.
A configurable PC Builder can remove much of this uncertainty by filtering incompatible selections as you create the system. At CraftCore, a tailored specification is then expertly handcrafted and fully tested, providing reassurance that the parts do not merely match on paper but operate correctly as a complete machine.
The best PC build is not always the one with the most expensive part in every category. It is the one where performance, cooling, power, dimensions and future plans are considered together. Give each component enough room to do its job, and the result will be a PC you can enjoy upgrading rather than troubleshooting.