How to Configure RGB Lighting on Your Gaming PC
Learn how to configure RGB lighting for a polished gaming PC, from matching software to safe connections, profiles and practical troubleshooting steps.
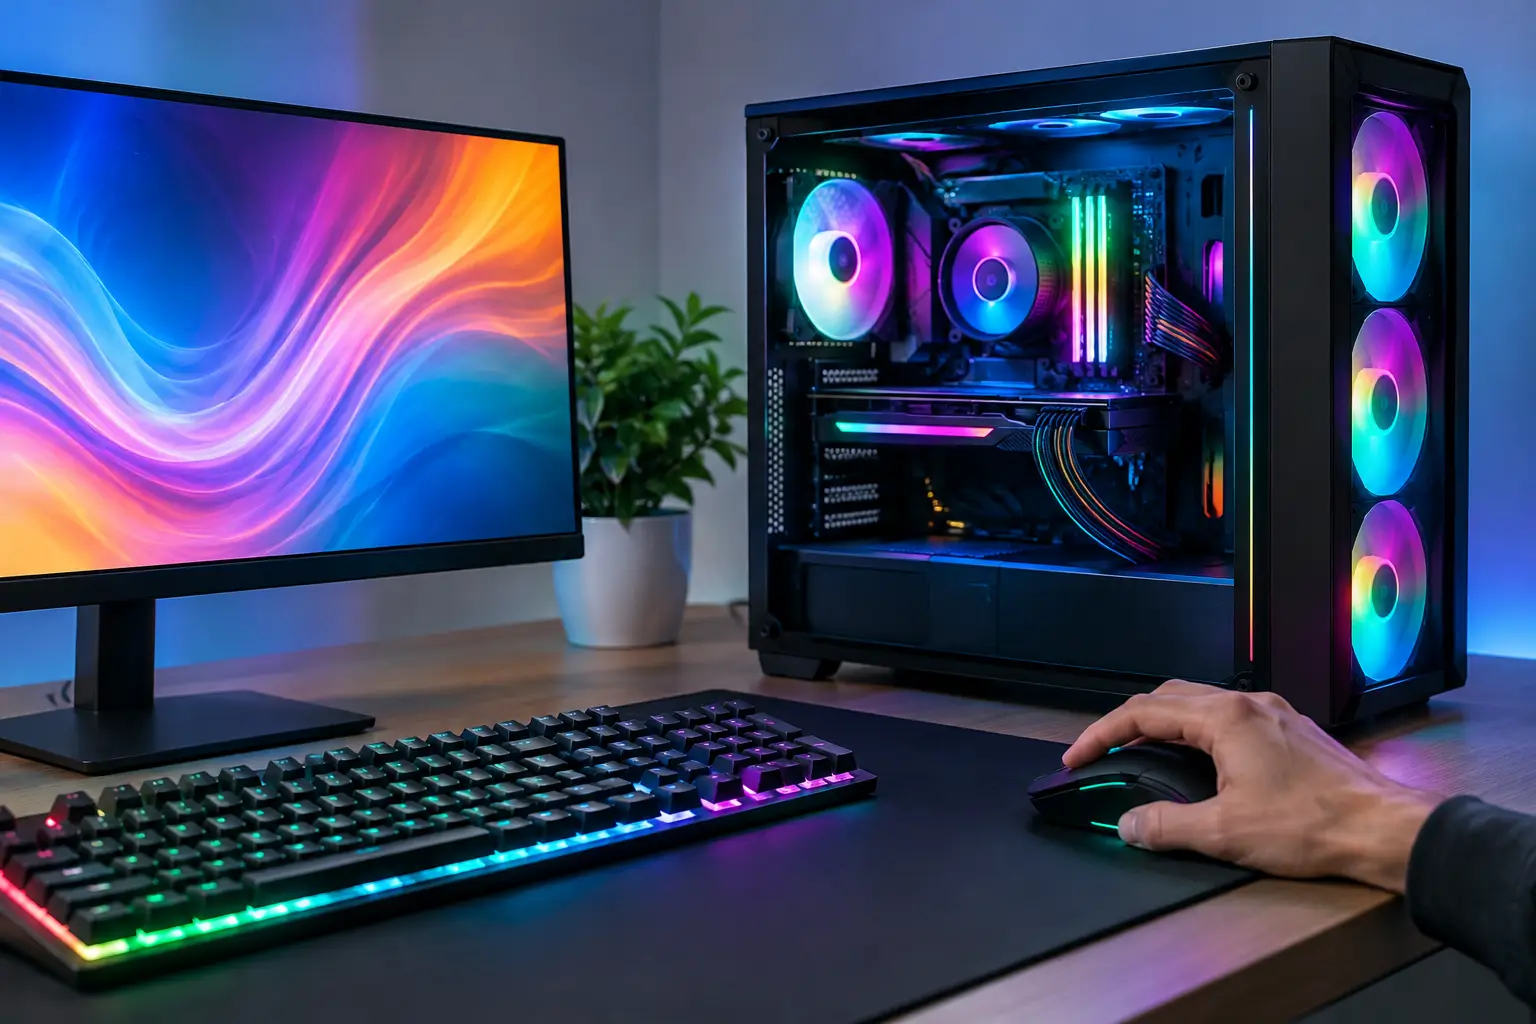
A well-planned RGB setup should make your PC feel considered, not distracting. Knowing how to configure RGB lighting starts with recognising what controls each component, then choosing colours and effects that suit the way you use your system. The result can be subtle desk lighting for work, a coordinated showpiece for gaming, or profiles that shift with your game, temperature or mood.
Start by identifying your RGB hardware
Before installing any software, check what lighting is already in the system. Typical RGB components include case fans, CPU coolers, graphics cards, motherboard lighting, memory modules, LED strips and peripherals such as keyboards, mice and headsets.
The key distinction is between standard RGB and addressable RGB, usually labelled ARGB. Standard 12V RGB uses a four-pin connector and treats all LEDs on the same device as one colour. ARGB normally uses a three-pin 5V connector and allows individual LEDs to display different colours and effects.
These connectors are not interchangeable. Connecting a 5V ARGB device to a 12V RGB header can damage its LEDs. Check the labels on the motherboard, hub and component cables before connecting anything. A properly planned lighting setup is as much about compatibility and cable management as it is about visual effects.
If your fans are connected to a dedicated hub or controller, that controller may manage both fan speed and lighting. It might connect to the motherboard via an ARGB lead, USB header or proprietary cable. In this case, the controller's instructions take priority over the fan manufacturer's standard wiring guidance.
Choose one main RGB control method
RGB lighting often becomes frustrating when several applications try to control the same component. A motherboard utility may be controlling the RAM while a peripheral app controls the keyboard and a separate fan utility takes over the case lighting. Effects can reset after a restart, colours may fail to match, and software can use unnecessary system resources.
For the cleanest experience, choose one primary route for lighting control. The right choice depends on your components.
Motherboard software is usually the sensible starting point when fans, LED strips, memory and compatible graphics cards are connected directly to the board. Most major motherboard manufacturers provide their own utility, allowing you to set colours, brightness and effects across supported hardware.
If your system uses a specific ecosystem, such as a controller supplied with the case, cooler or fans, its own software may offer more detailed effects and reliable device detection. This is common with proprietary fan connectors and all-in-one liquid coolers.
Third-party lighting software can be useful for mixed-brand builds, particularly if you want a single interface for several manufacturers. Compatibility varies, however, and not every device exposes every lighting zone. Install one option at a time, test it thoroughly, and remove or disable conflicting RGB applications rather than allowing them to run together.
How to configure RGB lighting safely
Begin with a simple static profile. It is the quickest way to confirm that every device is detected and that the physical connections are correct. Choose a single colour, apply it to all supported components, then check each fan, strip and hardware zone before moving on to layered effects.
If a component does not appear in the software, first confirm that it has power and is connected to the correct header or controller port. Check that a hub has SATA power where required, and that its USB lead is firmly seated if it relies on an internal USB connection. For motherboard-connected ARGB devices, inspect the alignment arrow on the connector and the 5V marking on the header.
Once detection is confirmed, configure your lighting in this order:
- Set a base colour palette of one to three colours. A restrained palette looks more premium and is easier to match with your desk setup.
- Adjust brightness before choosing effects. White LEDs at maximum brightness can be harsh in a dim room, while lower brightness often shows colours more accurately.
- Apply an effect only where it adds movement. A gentle colour cycle on fans can work well, but the same effect on every device can make the system look busy.
- Save the profile and restart the PC. This reveals whether the setting is stored in hardware or relies on software launching with Windows.
For many gaming PCs, a static primary colour with a secondary accent provides the best balance. For example, cool white lighting paired with blue accents can suit a clean build, while warm amber with soft red can complement darker components. Match the lighting to the visible hardware rather than trying to force every component into the same animated pattern.
Use zones to give the build depth
Treat different parts of the case as separate zones. Front fans can provide the main visual statement, while rear and top fans can use a lower brightness to add depth without drawing attention away from the graphics card or cooler.
Memory lighting is usually close to eye level and can be brighter than fans, particularly in cases with a clear side panel. LED strips are best used to define an edge or illuminate a dark area, not to expose every cable and surface inside the chassis. If the strip creates visible hotspots, reduce its brightness or reposition it so the light reflects indirectly.
Remember that glass panels, room lighting and case airflow all affect the final appearance. A profile that looks excellent in daylight may be overpowering in the evening. It is worth setting separate day and night profiles if your PC is used for both gaming and work.
Match lighting profiles to how you use the PC
RGB is most useful when it adapts to a real purpose. A low-brightness neutral profile can reduce distraction during editing, studying or office work. A brighter gaming profile can coordinate the system, monitor backlighting and peripherals after dark.
Some software allows profiles to launch with specific games or applications. This can be effective, but avoid using too many reactive effects at once. Audio visualisers, temperature shifts, screen mirroring and game integrations can compete for attention and occasionally increase software conflicts.
Temperature-based lighting is a practical exception. A discreet change from your usual colour to amber or red can indicate sustained high temperatures, but it should support proper monitoring rather than replace it. If the system regularly reaches high temperatures, check fan curves, airflow and cooler installation rather than relying on RGB as a warning system.
Keep software conflicts and startup issues under control
If colours change unexpectedly after booting, more than one service may be applying a profile. Open the startup settings in Windows and disable unused lighting utilities. In the RGB software you intend to keep, enable launch-on-startup only once you have confirmed it stores and loads the correct profile.
A motherboard BIOS update, driver update or Windows update can occasionally affect RGB detection. If a previously working component disappears, shut down the PC fully, switch off the power supply, then hold the case power button briefly to discharge residual power. After restarting, update the relevant motherboard chipset, USB and RGB utility software if needed.
Do not update firmware unless the manufacturer specifically recommends it for your device and the system is stable. Firmware updates can resolve controller issues, but they should not be the first response to a simple colour mismatch.
Build for the lighting you actually want
The best RGB configuration begins before the PC is switched on. Choose compatible fans, controller and motherboard headers, then allow enough ports for future upgrades. A build with six ARGB fans, an illuminated cooler and LED strips may need a powered hub rather than splitters alone.
Cable routing matters too. Keep ARGB and fan cables labelled during installation, especially when several identical fans are fitted. This makes it far easier to identify a non-responsive device later and keeps the finished system as tidy behind the motherboard tray as it is through the glass.
A premium RGB build does not need every effect enabled. Set a profile that complements the hardware, feels comfortable in your room and remains reliable after every restart. When lighting is planned with the same care as cooling and component selection, it becomes part of the system's character rather than an afterthought.