How to Install a Graphics Card in Your PC
Learn how to install a graphics card safely, from compatibility and power checks to driver setup, cable routing and first-boot troubleshooting in Windows.
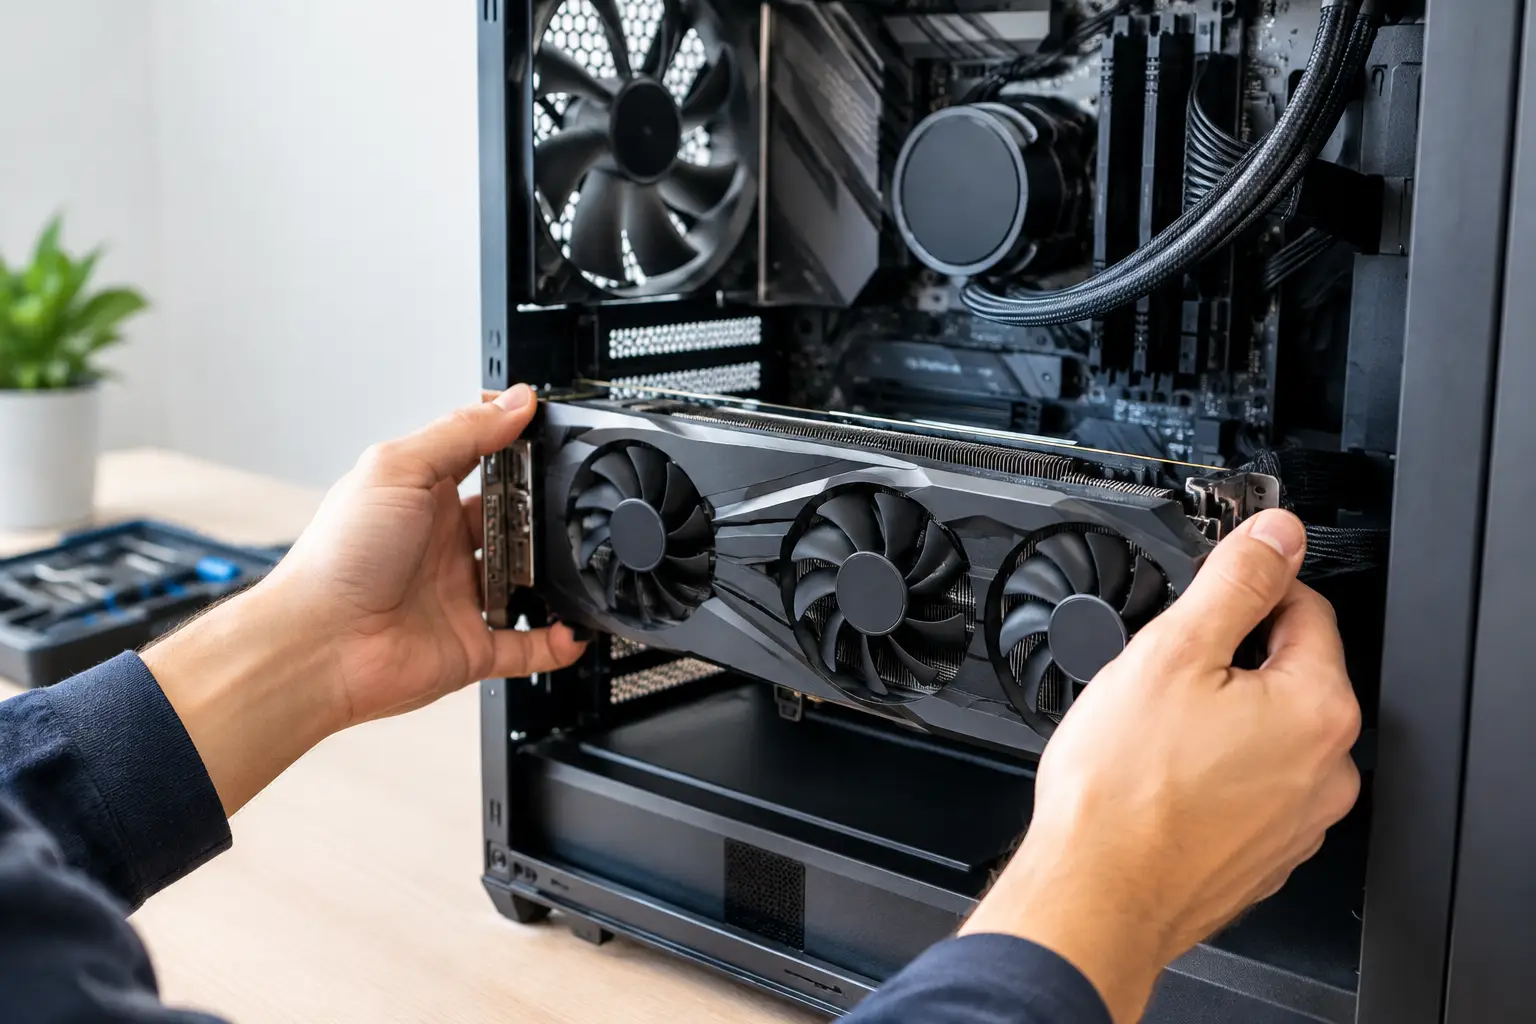
A graphics card upgrade can transform frame rates, visual settings and creative workloads, but only if the card is correctly matched to the rest of your system. Knowing how to install a graphics card means more than placing it in a PCIe slot: you also need to confirm physical clearance, power delivery and a stable first boot.
For a premium gaming PC, a careful installation protects both the new component and the build quality you have already invested in. Set aside time to do it properly rather than forcing connectors or rushing cable management.
Check compatibility before you open the case
Start with the graphics card's dimensions. Manufacturers list length, height and thickness, usually in millimetres and slot width. Compare these figures with the maximum GPU clearance of your case, allowing for front-mounted radiators, fans and the space needed to route power cables without sharply bending them against the side panel.
Next, check the power supply unit. The card manufacturer will state a recommended PSU wattage, but that figure assumes a typical system. A high-spec processor, multiple drives, pumps or substantial RGB lighting can increase total demand. More importantly, make sure the PSU has the correct PCIe power connectors. Many cards use one, two or three 8-pin PCIe connectors, while newer models may use a 16-pin 12V-2x6 connector.
Do not use a CPU EPS cable in a graphics card socket. The plugs can look similar, but their pin layouts and intended use differ. Use only PCIe cables supplied with, or specifically approved for, your PSU model. If your card needs more than one 8-pin connector, separate PCIe cables from the PSU are preferable where the PSU manufacturer recommends them, especially on higher-power cards.
Your motherboard also needs a full-length PCIe x16 slot. This is normally the top reinforced slot nearest the processor and is usually the best choice for airflow and bandwidth. Most modern graphics cards are backwards compatible with older PCIe generations, although performance and features may vary with the rest of the platform.
Prepare the system safely
Shut down Windows fully, turn the PSU switch off and remove the mains cable. Press the case power button for a few seconds after unplugging it to discharge residual power. Move the PC to a clean, stable work surface with good lighting, avoiding carpet if possible.
Static electricity is unlikely to damage parts when sensible precautions are taken, but there is no reason to take chances. Touch an unpainted metal section of the case before handling components and repeat this occasionally. Hold the graphics card by its edges or backplate. Avoid touching the gold PCIe contacts, exposed circuitry and fan blades.
Remove the side panel. If you are replacing an existing card, first disconnect its PCIe power leads by pressing the retaining clip on each connector. Unscrew the card from the rear expansion slots, press the small retention latch at the end of the motherboard PCIe slot, then pull the card straight out. Do not twist it or pull on the cooler.
Make space for the new card
Remove the required rear expansion-slot covers. A two-slot card typically needs two covers, while larger models may occupy three or even four slots. Keep the screws close by, as they secure the card to the case and stop it moving during transport.
If your new card is particularly long or heavy, consider its support before installation. Many premium cards include an anti-sag bracket. Using one helps keep the PCIe slot and card level over time, particularly in systems that are moved regularly.
How to install a graphics card correctly
With the PCIe latch open, line up the card with the top x16 slot and the rear of the case. Keep it level and press down with even, firm pressure until it is fully seated. You should hear or feel the retention latch click into place. The metal bracket should sit flush with the rear of the case, with no visible gap between the card and slot.
Secure the graphics card using the expansion-slot screws you removed earlier. The screws should be snug, not overtightened. If the card includes a support bracket, install and adjust it once the card is secured, supporting the outer edge without pushing the card upwards.
Connect the PCIe power leads next. Each plug should click positively into place and sit fully inserted. For cards with a 16-pin connector, make certain it is completely seated with no gap visible between plug and socket. Avoid an immediate hard bend at the connector. Give the cable a gentle radius and follow the card and cable manufacturer's clearance guidance before fitting the side panel.
Poorly routed cabling can restrict airflow and put unnecessary strain on connectors. Route the leads through the nearest cable grommet where possible, then use the case's tie points to keep them clear of intake fans and the GPU fans. A tidy route is not just cosmetic: it makes future maintenance easier and helps maintain consistent airflow.
First boot and driver installation
Before replacing the side panel, connect the monitor cable directly to the new graphics card. It is a common mistake to plug it into the motherboard's video output instead. Use DisplayPort or HDMI as appropriate for your monitor and its refresh rate, then reconnect the mains lead, switch on the PSU and start the PC.
The first boot may take slightly longer than usual while the system detects new hardware. Check that the card's fans briefly spin, if its fan-stop design allows, and that you receive a display signal. Once in Windows, open Device Manager to confirm the graphics card is detected.
Install the latest driver for your card directly from the GPU manufacturer's official software package. A driver update is essential for current games, performance improvements and fixes. If you are moving between major GPU brands, removing the previous brand's driver first can prevent conflicts. If you are upgrading within the same brand, a clean installation is optional rather than always necessary.
After installation, set the monitor's intended refresh rate in Windows display settings. A 165Hz or 240Hz monitor can otherwise remain at 60Hz, making a successful hardware upgrade feel underwhelming. It is also worth checking resolution, HDR settings where relevant and in-game graphics presets.
If the PC does not display an image
A black screen is usually caused by a simple connection issue. Turn the system off fully before checking that the card is seated, the PCIe power connectors are fully engaged and the monitor is connected to the graphics card rather than the motherboard. Confirm that the monitor is set to the correct input as well.
If the system powers on but repeatedly restarts, review the PSU capacity and all power connections. If motherboard diagnostic LEDs are fitted, consult the board manual to identify whether the issue is related to VGA, memory or CPU initialisation. Reseating the card and memory is often a sensible next step, but never work inside the case while power is connected.
Excessive GPU temperatures after a successful boot may indicate restricted airflow, a fan curve issue or cables close to the fans. Monitor temperatures during a demanding game or benchmark. Temperature targets differ by card design, room temperature and workload, so look for sudden throttling, crashes or unusually high readings rather than fixating on one number.
Give the upgrade the finish it deserves
Refit the side panel only after confirming the cables are clear and not pressing hard against the connector. Keep the graphics card packaging and any accessories, including support brackets and adapter documentation, in case the system is upgraded or transported later.
A graphics card installation is straightforward when every component is compatible and every connection is checked with care. If you would rather have that reassurance built in from the start, a tailored, fully tested CraftCore system gives you the performance headroom and component balance your games or workload require.