Liquid Cooling Maintenance for Gaming PCs
Liquid cooling maintenance protects temperatures, performance and component life. Learn how to inspect, clean and service your gaming PC with confidence.
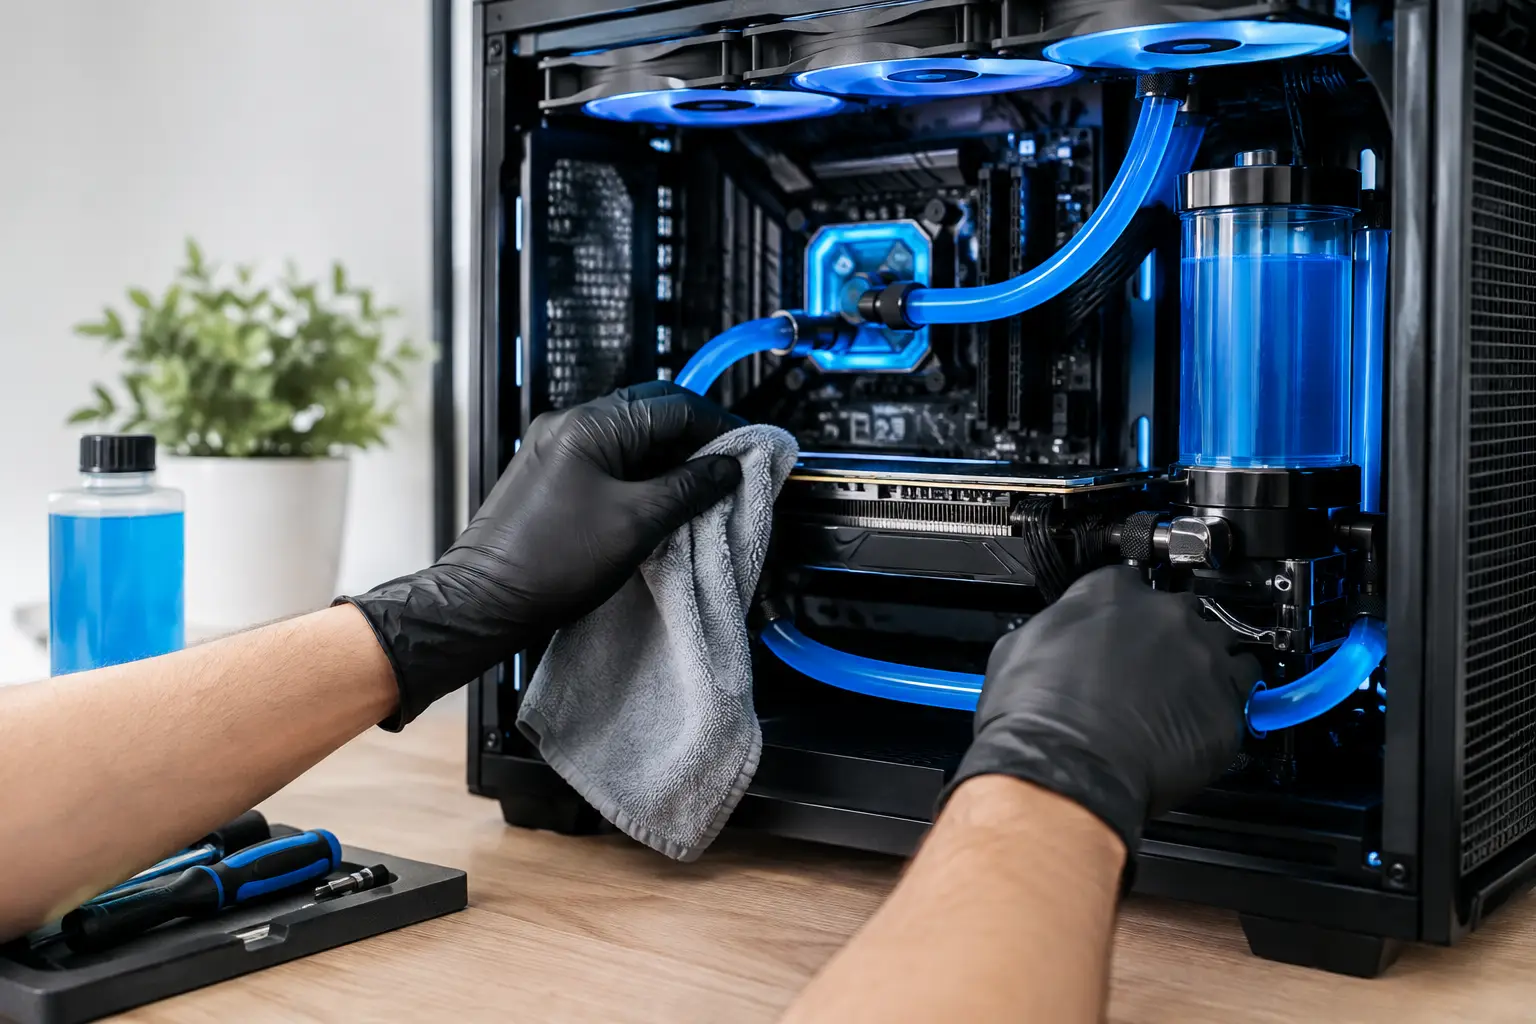
A liquid-cooled gaming PC should be quiet under load, with stable temperatures and no sign of moisture around the hardware. When it is, it is easy to forget the cooling system exists. That is precisely why liquid cooling maintenance matters: small changes in pump behaviour, airflow or coolant condition are easier and safer to address before they affect performance.
For most owners, maintenance is not a frequent strip-down. It is a routine of sensible checks, careful cleaning and knowing when a more involved service is required. The right approach depends on whether your system uses a sealed all-in-one cooler or a custom loop.
Start by identifying your cooling system
An all-in-one, often called an AIO, is a sealed unit combining a pump, cold plate, tubing and radiator. It is the most common liquid-cooling option in premium gaming PCs because it provides strong CPU cooling with comparatively little owner maintenance. The coolant is contained within the unit, so you should not attempt to open, refill or modify it.
A custom loop is built from separate components: a CPU or GPU water block, pump, reservoir, radiator, fittings and tubing. It offers greater cooling capacity and more freedom over the system’s appearance, especially in a showcase build. It also needs more regular inspection because the coolant and fittings are serviceable.
This distinction matters. Treating an AIO like a custom loop can damage its sealed design, while treating a custom loop as fit-and-forget can leave old coolant or a developing fitting issue unnoticed.
The essential liquid cooling maintenance routine
The most useful checks take only a few minutes and can be completed while the system is powered down and cool. Remove the side panel, use good lighting and avoid moving tubing or cables unnecessarily.
Look closely at the area around the CPU block, graphics card block if fitted, radiator connections, fittings and reservoir. You are looking for dampness, residue, discolouration or a sweet, chemical smell. Coolant often leaves a faint coloured or chalky mark once dry, which can be easier to spot than liquid itself.
Then check the radiator and fans. Dust caught between the fan blades and radiator fins restricts airflow, forcing fans to run faster and making temperatures climb. A soft brush, electric air duster or short bursts of compressed air can clear it effectively. Hold each fan blade still while cleaning so it does not spin at excessive speed.
A practical inspection checklist includes:
- Dust build-up on radiator fins, fans and intake filters
- Moisture, residue or staining around tubing and fittings
- Kinked tubing or tubing pressing hard against a component
- Unusual pump noise, vibration or fan noise
- Higher-than-normal CPU or GPU temperatures during familiar games
Do not use a household vacuum inside the PC. It can create static and can pull delicate cables or small parts out of position. Clean external filters regularly, particularly if the computer sits near carpet, pets or a busy desk area.
Monitor temperatures, not just fan noise
Temperature monitoring gives context to what you see during an inspection. A sudden, sustained temperature increase under the same game or workload may point to dust restriction, an altered fan curve, ageing thermal paste, a pump problem or poor case airflow.
There is no single correct CPU temperature because processors, coolers, room temperature and workloads differ. Modern high-performance CPUs can briefly operate at high temperatures by design. The useful comparison is with your system’s own established behaviour. If a game that previously kept the CPU around 70°C now holds it near its thermal limit, investigate rather than assuming the result is normal.
Listen for changes too. A healthy pump normally produces a low, consistent hum. Repeated clicking, grinding, loud bubbling or a new whine deserves attention. Occasional liquid movement immediately after a PC has been moved can happen, but persistent noise is not something to ignore.
Cleaning an AIO cooler safely
For an AIO-equipped system, cleaning the radiator, fans and case filters is the core of ongoing care. Check the radiator every few months and clean it when dust becomes visible. Systems used in a clean, raised position may need less attention than PCs positioned on the floor.
Inspect the tubing for rubbing, flattening or visible deterioration. AIO tubing is designed for long-term use, but it should not be sharply bent or trapped against a side panel. Confirm that the pump and radiator cables remain secure, particularly after transporting the PC or fitting new memory, storage or graphics hardware.
Do not top up an AIO with water, remove its tubes or undo its cold plate to inspect the inside. Sealed coolers are not designed for this. If the pump fails, the coolant level falls over time or a leak is suspected, replacement is the correct response. Continuing to use a failing unit risks thermal throttling and, in the case of a leak, component damage.
When thermal paste becomes relevant
Thermal paste sits between the CPU and the cooler’s cold plate, filling microscopic gaps to transfer heat efficiently. It does not need annual replacement simply because a year has passed. However, if an older system has rising temperatures after radiator cleaning, or the cooler is removed for an upgrade, applying fresh quality thermal paste is sensible.
Use only a small, appropriate amount, and make sure the cold plate is mounted evenly. Uneven pressure can cause poor contact even with excellent paste. If you are not confident removing a CPU cooler, professional servicing is usually better value than risking bent pins, damaged mounting hardware or an incorrectly seated block.
Servicing a custom water-cooling loop
A custom loop needs a more deliberate maintenance schedule. The exact interval depends on the coolant used, tubing type, materials in the loop and how clean the system was during assembly. As a general guide, inspect it monthly and plan a coolant change and deeper clean roughly every 12 months. Some specialist coolants have their own recommended service intervals, which should take priority.
Check the reservoir level with the PC switched off and cool. A small apparent change can be caused by temperature, but a clear ongoing drop may indicate evaporation, trapped air working through the loop or a leak. Never add random tap water. Minerals and contaminants can encourage corrosion, growth and deposits. Use the correct premixed coolant or distilled-water-based solution specified for the loop’s components.
During a scheduled service, the loop should be drained safely, flushed where appropriate and refilled carefully. This is also the time to inspect fittings, clean accessible reservoir deposits and check that the pump is running consistently. Mixing unsuitable metals, such as aluminium with copper-based components without the right inhibitor, can cause corrosion. It is one reason custom loops reward careful parts selection and experienced assembly.
Bleeding air from a loop can take patience. The pump must never run dry, even briefly, because it relies on coolant for lubrication and cooling. Keep the reservoir adequately filled throughout the process and follow the pump and coolant manufacturer guidance.
What to do if you suspect a leak
Switch the PC off immediately at the mains. Do not restart it to see whether the issue has stopped. Disconnect power, take clear photographs of the affected area and avoid wiping away all evidence before you understand where the fluid came from.
If liquid has reached components, leave the system powered down. The safest route is assessment by a qualified PC technician or the original builder, especially for a custom loop. A careful pressure test and inspection can identify the source without energising the hardware.
For a newly delivered or recently built system, contact the supplier before dismantling anything. Premium systems are fully tested before dispatch, but transport, accidental knocks and component faults can still create issues that should be handled through the correct support process.
Keep airflow working with the cooler
Liquid cooling moves heat from a component into the radiator, but the radiator still needs fresh air. A high-end cooler cannot compensate for a case with blocked intakes, poorly arranged fans or a desk enclosure that traps warm exhaust air.
Make sure there is clear space around the case vents. If the radiator is front-mounted, it may bring warmer air into the case, which can marginally affect GPU temperatures while benefiting CPU cooling. A top-mounted radiator often exhausts heat more directly but may use slightly warmer internal air. Neither arrangement is automatically best - the case layout, radiator size and graphics card load determine the right compromise.
A well-built system should be tailored to its intended workload, whether that is competitive gaming, 4K single-player titles, rendering or professional creative work. Keeping the cooling system clean preserves the performance headroom that the original specification was designed to deliver.
The best maintenance habit is simple: make a brief inspection part of your regular desk clean, and act on changes rather than waiting for a temperature warning or a noisy pump to force the issue. A few careful minutes can protect a premium PC for years of demanding use.