PC Fan Setup: Better Airflow, Less Noise
Plan a PC fan setup that keeps premium gaming and work systems cool, quiet and reliable, with practical advice on airflow, placement and control at home.
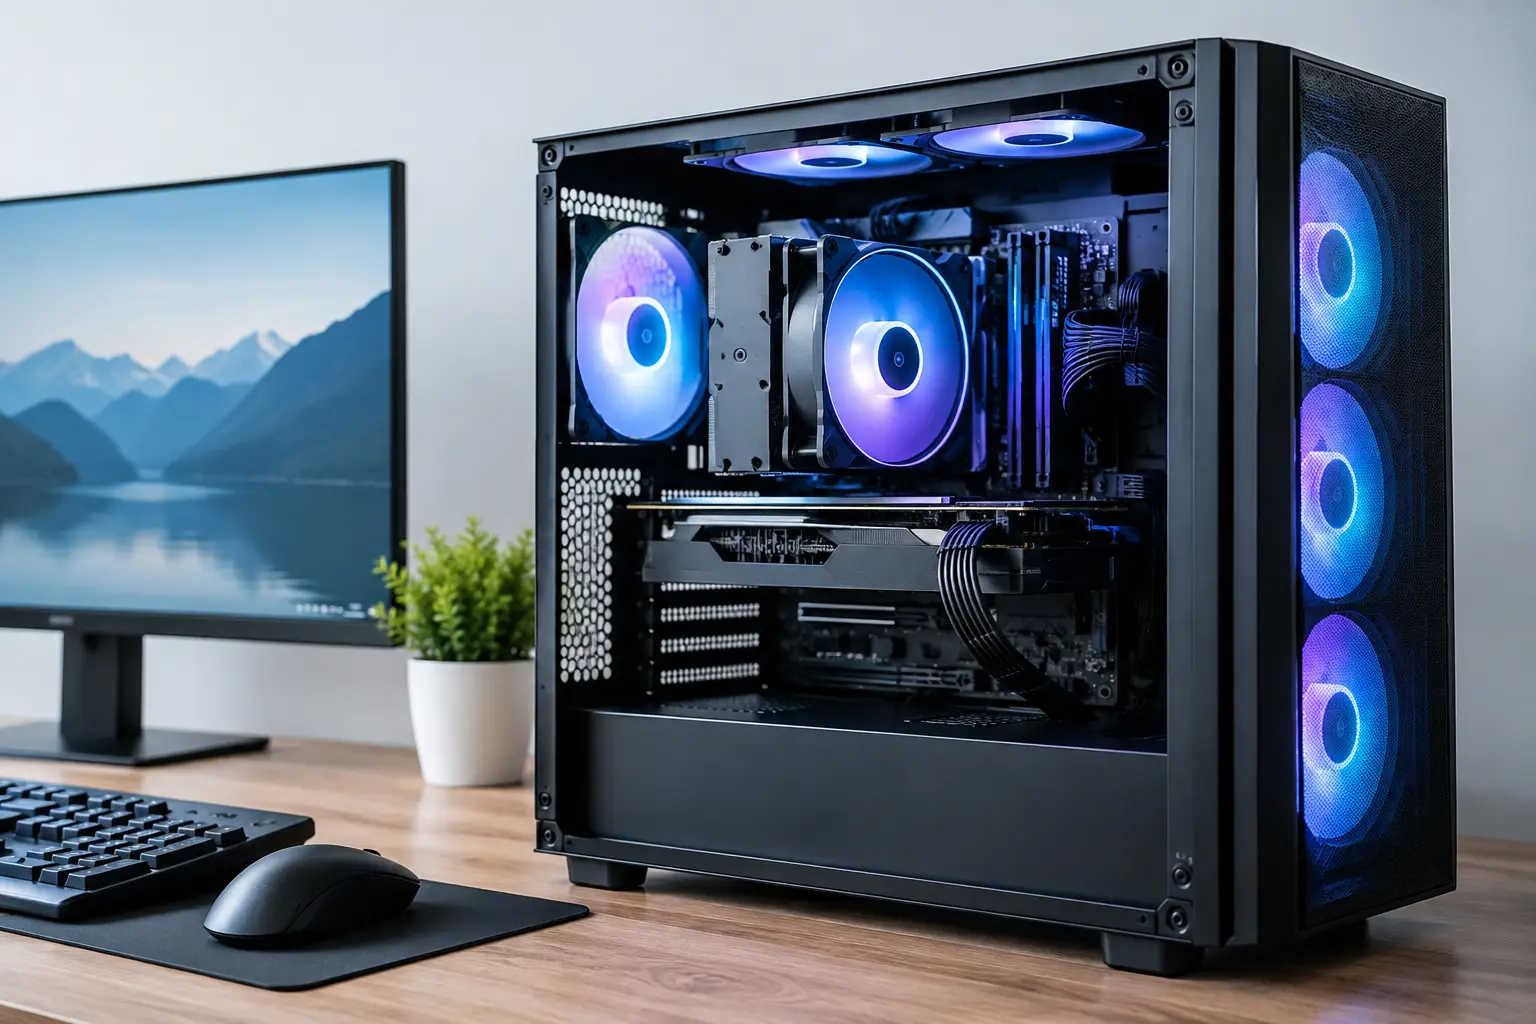
A powerful graphics card and processor can only perform at their best when heat has somewhere to go. A considered PC fan setup is therefore more than a cosmetic choice: it affects gaming frame rates, component longevity, acoustics and how confidently your system handles long sessions under load. The goal is not to fit the greatest possible number of fans. It is to create a controlled path for cool air to enter, move through the hardware and leave the case efficiently.
For a premium gaming PC or high-performance workstation, this balance is worth getting right before the build is finalised. Fan placement, case design, radiator position and fan curves all work together. Change one element without considering the others and a system can become louder without becoming meaningfully cooler.
Start with airflow direction
Most case fans move air from the open side of the frame towards the side with the support struts and motor hub. The open side is normally the intake side, while the strut side is the exhaust. Check the arrows moulded into the fan frame before installation, as layouts can vary and RGB lighting is not a reliable guide.
A conventional airflow route brings fresh air in through the front and, where available, the bottom or side panel. Warm air then exits through the rear and top of the case. This follows a useful physical principle: warm air rises, but more importantly, it gives the fans a direct route past the graphics card, motherboard and CPU cooler.
Front intake and rear exhaust remains a dependable starting point for most mid-tower gaming builds. Adding top exhaust fans can help when the processor, graphics card or radiator produces substantial heat. However, top exhaust should support the main airflow path, not disrupt it. Too much extraction near the front-top of the case can pull fresh intake air out before it reaches the components that need it.
Choose positive pressure for a cleaner PC fan setup
Case pressure describes the relationship between air entering and air leaving the chassis. Positive pressure means the intake fans move slightly more air than the exhaust fans. Negative pressure means exhaust capacity is greater. Neutral pressure sits between the two.
For most home gaming PCs, a modest positive-pressure setup is the practical choice. More air enters through filtered intake locations, which reduces the amount of dust drawn in through panel gaps, unused expansion slots and other unfiltered openings. It also helps ensure the graphics card receives a steady supply of cooler external air.
This does not mean every intake fan must run at a much higher speed than every exhaust fan. Fan size, radiator resistance, dust filters and case panels all affect actual airflow. Treat positive pressure as a direction rather than a precise measurement. A system with three front intake fans and one rear exhaust fan will often achieve it naturally, particularly when the front fans are slightly larger.
Negative pressure can work in certain cases, especially where the enclosure has restricted exhaust space. Its drawback is housekeeping. It tends to draw dust through every available gap, so filters and internal surfaces require more frequent cleaning.
Match fan positions to the components doing the work
The graphics card is usually the dominant heat source in a modern gaming PC. Front and lower intake fans should feed it directly with cool air. In cases with bottom fan mounts, these can be particularly useful for high-wattage GPUs, provided there is enough clearance beneath the case for air to enter.
The CPU cooling arrangement determines the rest of the layout. With an air cooler, front intake air should travel through the cooler's heatsink and towards a rear exhaust fan. The CPU cooler fan and rear case fan should generally point in the same direction. Reversing one of them creates turbulence and weakens the path you are trying to establish.
With an all-in-one liquid cooler, radiator location involves a genuine trade-off. A front-mounted radiator used as intake gives the CPU access to the coolest outside air, which can improve processor temperatures. The graphics card then receives air that has already passed through the radiator, potentially raising GPU temperatures.
A top-mounted radiator configured as exhaust usually keeps the graphics card supplied with cooler front intake air. The CPU may run a little warmer because the radiator uses case air, but this is often an excellent overall balance for gaming systems. The best option depends on the case, processor, graphics card and the workloads that matter most.
Side-mounted fans and compact cases
Modern panoramic cases often include side fan mounts. These are valuable, but they need a plan. Side intake can supply fresh air directly to the graphics card and is often effective in dual-chamber layouts where a front intake is not available. Side exhaust can be useful where a radiator occupies that position, although it should not fight against nearby intake fans.
Small-form-factor systems need even more care. Components sit closer together, cable space is tighter and a radiator or large graphics card can obstruct airflow. A compact case does not need every mount filled. It needs a clear route, tidy cable management and fans chosen for the restrictions of the panels and radiators around them.
Fan size, static pressure and noise
Larger fans can move a useful volume of air at lower rotational speeds, which often makes them quieter than smaller models working harder. Where the case supports them, 140 mm fans are a strong choice for intake and exhaust. Quality 120 mm fans remain highly versatile, especially on radiators and in cases with limited mounting space.
Static pressure matters when a fan must push or pull air through resistance. Radiators, dense mesh panels and restrictive dust filters all create resistance. Fans designed for higher static pressure are usually the better fit for radiators and restricted intakes. Airflow-focused fans can be excellent in open case positions, but specifications alone do not tell the whole story. Motor quality, bearing design and the tone of the fan at speed matter just as much in day-to-day use.
RGB fans can complement a carefully planned build, but lighting should not dictate the airflow design. A premium system should look intentional and perform reliably, rather than sacrifice cooling to make every illuminated fan face the same way.
Set fan curves that respond to real heat
A fan curve controls how quickly each fan spins at different temperatures. Leaving every fan at a fixed high speed is simple, but it makes a PC unnecessarily loud when browsing, working or watching media. Setting them too low can allow heat to build before the system reacts.
Start with a gentle baseline at idle, then increase speed steadily as temperatures rise. Case intake fans are often best linked to GPU temperature for gaming-focused PCs, as the graphics card creates most of the heat during gameplay. CPU fans and radiator fans should respond to CPU temperature. If the motherboard software allows it, use a gradual response or a short delay so fans do not constantly surge up and down during brief temperature spikes.
Test the curve with the applications you actually use. A demanding game, a long render or a sustained CPU benchmark tells you far more than a few minutes on the desktop. Watch both temperatures and noise. If increasing fan speed by 20 per cent only reduces temperatures by one or two degrees, that extra noise may not be worthwhile.
Avoid the common airflow mistakes
More fans are not automatically better. A case packed with mismatched fans can create turbulence, competing airflow paths and extra cable clutter. Prioritise balanced intake and exhaust, then add fans only where testing shows a benefit.
Do not overlook filters and maintenance. Even an expertly planned layout loses effectiveness when front filters are coated in dust. Inspect them regularly, particularly in homes with pets, carpets or a PC positioned near the floor. Clean filters gently and hold fan blades still when using compressed air, rather than allowing them to spin freely.
Cable routing also has a practical role. Modern systems are less affected by a few well-routed cables than older builds were, but loose bundles directly behind front intake fans can obstruct the most useful airflow. Keep the main chamber clean, secure cables behind the motherboard tray where possible and leave clear space around the graphics card.
A strong cooling layout should feel almost invisible in use: controlled under pressure, quiet at idle and easy to maintain. Whether you are specifying a tailored CraftCore system or refining an existing build, choose a PC fan setup that serves the hardware and the way you use it, not simply the number of empty fan mounts in the case.