When Does Thermal Paste Replacement Make Sense?
Thermal paste replacement can reduce temperatures and noise when applied correctly. Learn when to replace it, what to use and when to call a PC specialist.
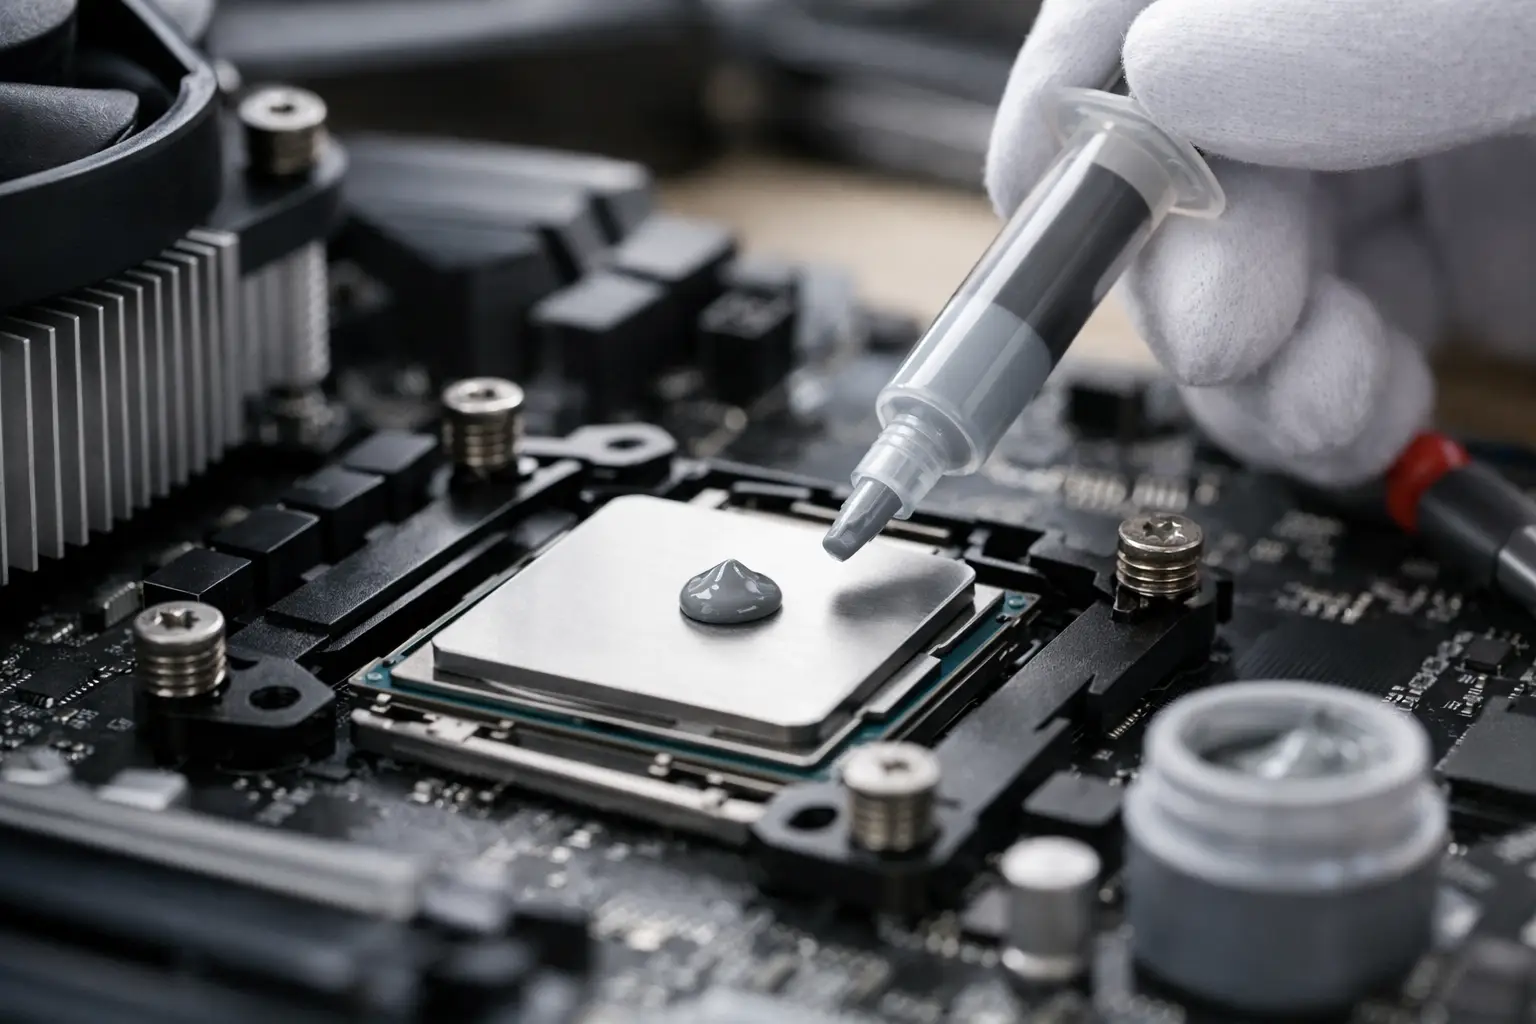
A gaming PC that suddenly runs louder halfway through a familiar match is easy to blame on the game, the room temperature or a dusty fan. Sometimes, though, the cause sits between the processor and its cooler. Thermal paste replacement can restore efficient heat transfer, but it is a maintenance job to do for a clear reason, not a routine upgrade to perform every few months.
For most well-built desktops, quality thermal paste remains effective for years. Replacing it at the right point can lower operating temperatures, reduce fan noise and help the CPU sustain its intended boost behaviour. Replacing it unnecessarily, or applying it poorly, can create more work without delivering a meaningful improvement.
What thermal paste actually does
A CPU heat spreader and cooler base may look perfectly smooth, but both surfaces have microscopic imperfections. Thermal paste fills those tiny gaps so heat can pass efficiently from the processor into the air cooler or liquid-cooling block. It is not designed to cool the PC by itself. Its role is to create a thin, consistent thermal bridge.
That thinness matters. Too little paste can leave gaps, while too much can make cooler installation messier and may slightly reduce transfer efficiency. Modern non-conductive pastes are generally forgiving, but careful preparation and mounting pressure still matter more than chasing a particular application pattern.
A healthy thermal interface supports the entire cooling system. The fans, heatsink, radiator, airflow and fan curves all have a part to play. Paste is one component in that chain, which is why a temperature issue should be diagnosed before the cooler comes off.
When thermal paste replacement is justified
There is no fixed calendar interval for every PC. A premium paste in a desktop that is used for gaming or work can often perform well for three to five years, and sometimes longer. Usage, cooler pressure, processor heat output and the original application all influence the result.
The strongest reason to replace paste is a sustained change in behaviour. If CPU temperatures are notably higher than they were after the PC was built, fans are working harder under the same workload, or the processor begins reducing clock speed because it reaches its thermal limit, the interface is worth investigating. This is especially relevant after moving house, transporting a system, changing a cooler or removing the CPU cooler for any reason.
A single high reading is not enough. Modern processors can briefly reach elevated temperatures during loading screens, shader compilation, rendering or intensive benchmarks. Look instead for a consistent pattern across several sessions. Compare like with like: the same game, similar ambient room temperature and the same graphics or productivity workload.
Dry, cracked paste can be a factor in an older system, but it is not the only explanation. A radiator clogged with dust, an incorrectly configured pump, a failed fan, restricted case airflow or a loose mounting bracket can produce similar symptoms. Replacing paste without finding the underlying cause may only mask the problem.
Check the rest of the cooling system first
Before beginning thermal paste replacement, inspect the straightforward items that often make the biggest difference. Confirm that CPU cooler fans spin normally, radiator fans are facing the correct direction and dust has not built up in filters, heatsinks or radiator fins. Check that the cooler is securely mounted and that no cable is obstructing an intake fan.
Use reliable monitoring software while gaming or running the applications that concern you. Record CPU package temperature, clock speed and fan speed after the system has warmed up. If temperatures have only changed slightly and performance remains stable, cleaning the system may be the more sensible first step.
Also consider ambient temperature. A PC in a warm room during a British summer heatwave will naturally run warmer than it did in winter. Expectations should suit the processor and cooler fitted. A high-performance CPU under an all-core creative workload will not behave like an efficient gaming chip under a light desktop load.
How to replace thermal paste on a desktop CPU
Set aside enough time to work carefully. Shut down the PC, switch off the power supply and disconnect the mains lead. Press the case power button for a few seconds to discharge remaining power. Place the system on a stable, clean surface with good lighting, and avoid working on carpet where possible.
You will need high-purity isopropyl alcohol, lint-free wipes or coffee filters, fresh thermal paste and the fitting hardware for your specific cooler. A screwdriver may be required. Do not use household cleaners, wet wipes or rough tissue, as they can leave residue or fibres behind.
First, remove the side panel and disconnect the CPU fan or pump header if necessary. Loosen cooler screws gradually in an alternating pattern rather than fully removing one corner at a time. If the cooler feels stuck, gently twist it a few millimetres before lifting. Do not pull upwards with force, particularly on older AMD platforms where a processor can occasionally adhere to hardened paste.
Clean the old material from the CPU heat spreader and the cooler contact plate. Apply a small amount of alcohol to the wipe, then lift away the paste until both surfaces are clean and dry. Inspect the cooler base at this stage. Any protective plastic film must be removed before refitting.
For most mainstream desktop CPUs, a pea-sized dot of quality paste in the centre is a dependable method. Very large processors may need a slightly different pattern, so follow the paste or cooler manufacturer guidance where supplied. There is no need to spread the compound with a finger or tool unless the instructions specifically call for it.
Lower the cooler straight down onto the CPU and secure it using the correct mounting points. Tighten each screw a little at a time in a cross pattern to maintain even pressure. Reconnect every fan and pump header, refit the panel, then start the system and confirm that cooling hardware is operating as expected.
Run a familiar game or workload and compare temperatures with your earlier readings. A good result is not always a dramatic reduction. More stable temperatures, quieter fan operation and the absence of thermal throttling are often the meaningful gains.
Graphics cards and laptops need extra care
GPU thermal paste replacement is more involved than servicing a desktop CPU. Removing a graphics card cooler can disturb thermal pads that cool memory chips and power components. Those pads have specific thickness requirements, and reusing damaged or wrongly sized pads can create a new temperature problem even if the GPU core improves.
Laptops are more compact again. Their heatsinks often cover both CPU and GPU, screw order matters, and the original thermal material may not be conventional paste. Many manufacturers use pads or phase-change materials designed for a particular mounting pressure. Unless you are confident with the model and understand its warranty position, this work is best handled by a specialist.
The same caution applies to all-in-one liquid coolers. If temperatures remain high after cleaning and repasting, listen for unusual pump noise and check whether the pump is reporting a sensible speed. An ageing cooler may be the real issue.
Choosing the right paste
For most gaming and performance desktops, a reputable non-conductive thermal paste is the practical choice. It offers strong performance, straightforward application and far less risk if a small amount reaches the surrounding area. The difference between good pastes is usually modest compared with the effect of proper cooler mounting and case airflow.
Liquid metal can produce lower temperatures in specific high-end applications, but it is electrically conductive and can react with aluminium. It demands experience, compatible surfaces and careful containment. It is not the default answer for a tailored gaming PC that needs dependable long-term operation.
If your existing cooler is undersized for your processor, a paste change may improve matters slightly but cannot overcome a fundamental cooling limitation. In that situation, a higher-capacity air cooler, suitable liquid cooler or improved case airflow is the better investment.
Treat temperatures as part of the whole build
A well-configured PC should balance performance, acoustics and component longevity rather than pursue one benchmark number. Thermal paste is a small detail, yet it deserves the same care as cable routing, fan placement and cooler selection. For a system you would rather not open yourself, an expertly handcrafted and fully tested build from CraftCore provides the reassurance that these details have been considered from the start.
If your PC is performing consistently and temperatures are within a sensible range, leave a sound thermal interface alone. When there is clear evidence of a cooling change, take a measured approach: clean thoroughly, fit the cooler correctly and let real-world gaming or work performance guide the next decision.